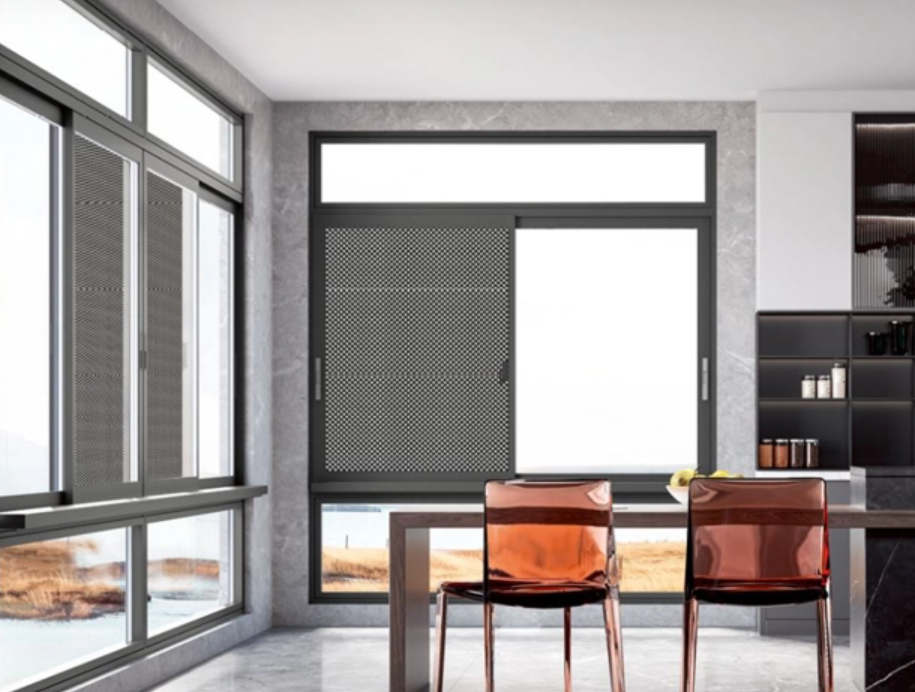
An awning window is a popular window style hinged at the top and opening outward from the bottom. It allows fresh air to enter even during light rain, making it ideal for bathrooms, kitchens, basements, and modern residential designs. Awning windows are energy-efficient, secure, and simple in structure, but improper installation can lead to water leakage, poor insulation, or frame distortion.
This article provides a step-by-step guide on how to install an awning window, including tools, preparation, safety measures, installation techniques, sealing, and final inspection. Whether you're a DIY homeowner or a professional installer, this guide ensures a smooth and successful installation.
Tools and Materials You Will Need
Tools | Materials |
Measuring tape | Awning window frame & sash |
Level tool | Screws (stainless or galvanized) |
Screwdriver or drill | Flashing tape or membrane |
Pry bar or utility knife | Exterior silicone sealant |
Caulking gun | Insulation foam or fiberglass |
Hammer & nails | Drip cap (optional but recommended) |
Safety gloves & goggles | Shims (wood or plastic) |
Step-by-Step Installation Process
Installing an awning window correctly is essential to ensure energy efficiency, security, and long-term durability. A well-installed window not only improves ventilation and natural lighting but also prevents water intrusion, air leaks, and unnecessary energy loss. Below is a detailed guide, expanded with practical tips, expert advice, and additional considerations to help homeowners, DIY enthusiasts, or contractors achieve optimal results.
Step 1 – Measure the Window Opening
Accurate measurement is the foundation of a successful installation. Even small errors can lead to improper fit, gaps, or operational difficulties.
Measure the width and height of the rough opening at three points: top, middle, and bottom. This accounts for wall irregularities, uneven masonry, or warped studs.
Use the smallest measurement to select the appropriate window size. This allows space for shims, insulation, and minor adjustments during installation.
Check if the opening is level and square by measuring diagonally from corner to corner. If both diagonal measurements are equal, the opening is square. If not, adjustments to the opening or frame shimming are required.
Tip: Leave the window frame 1–2 cm smaller than the rough opening to ensure proper fitting and easy adjustment.
Extra Advice: Take multiple measurements to account for wall bowing or old construction inconsistencies. A snug, well-fitted frame prevents stress cracks, drafts, and water intrusion over time. Consider using a laser level for precision in larger or irregular openings.
Step 2 – Prepare the Rough Opening
Proper preparation ensures water protection, insulation performance, and long-term durability.
Remove any old window, damaged framing, or debris using a pry bar or utility knife. Inspect for rot, mold, or structural damage.
Clean the opening thoroughly to remove dust, dirt, and old caulking. A clean surface ensures proper adhesion of sealants and flashing.
Apply a waterproof membrane or building wrap around the opening perimeter to prevent water infiltration behind wall cladding.
Install a sill pan or flashing tape at the base. This directs water away from the wall, protecting structural integrity and preventing mold growth.
Pro Tip: If the opening is slightly uneven, use shims to level the surface. However, do not rely solely on shims to correct major misalignments, as this can affect window operation and sealing.
Consider adding a thin layer of insulating tape or weather barrier between the frame and rough opening to improve energy efficiency.
Step 3 – Dry-Fit the Awning Window
A dry-fit ensures proper alignment before permanent installation.
Place the awning window into the prepared opening and check that it sits evenly.
Use a level to confirm the window is plumb (vertical) and level (horizontal).
Insert shims around corners and sides for even spacing and support. Shims prevent frame shifting and maintain a straight installation.
Adjust until the window is centered and fully level. Uneven placement may cause operational issues or poor sealing.
Extra Tip: Keep the bottom of the frame slightly elevated on shims to allow drainage under the sill in case water penetrates the seal. Ensure shims are non-compressible to maintain stability over time.
Step 4 – Secure the Window Frame
Once aligned, secure the window firmly while maintaining level and plumb.
Open the window to access mounting holes.
Drill pilot holes if necessary to avoid splitting wall materials.
Fasten screws through the frame into studs for wooden walls or anchors for masonry.
Avoid overtightening screws, which can warp the frame or make operation difficult.
Recheck the level after each screw installation to ensure proper alignment.
Pro Tip: Fasten top corners first, then bottom, then sides. This sequence minimizes stress and ensures a square fit.
Step 5 – Insulate and Seal
Proper insulation and sealing improve energy efficiency, prevent leaks, and reduce noise.
Fill the gap between the frame and wall with low-expansion spray foam or fiberglass insulation. Avoid overfilling, which can bow the frame.
Apply flashing tape over exterior nailing flanges to prevent water penetration.
Seal edges with high-quality silicone or polyurethane caulk for a tight weatherproof seal.
Install a drip cap above the window to direct rainwater away from the frame.
Extra Advice: Choose paintable sealant to match exterior walls. Smooth caulking ensures better adhesion, a clean look, and prolonged durability.
Step 6 – Install Hardware and Test Operation
Attach handles, cranks, or locking mechanisms per the manufacturer’s instructions.
Open and close the window multiple times to check smooth operation and alignment.
Inspect for air gaps, rattling, or uneven movement. Adjust shims or hardware if necessary.
Clean excess sealant or foam for a neat, finished appearance.
Tip: Lubricate hinges and cranks with silicone-based lubricant to maintain smooth operation and extend lifespan.
Common Mistakes to Avoid
Mistake | Problem Caused | Prevention |
Incorrect measurements | Poor fit, air leakage | Measure multiple times and use smallest value |
No flashing or sealing | Water leaks, mold growth | Apply waterproof membrane and flashing tape |
Over-tightened screws | Frame distortion, operational issues | Tighten gradually, check level |
Insufficient shimming | Uneven window, difficult operation | Place shims at corners and sides |
Wrong sealant type | Seal failure over time | Use exterior-grade silicone or polyurethane |

Benefits of Awning Windows
✅ All-Weather Ventilation – Can be opened during rain without water entering.
✅ Energy Efficiency – Tight sealing reduces drafts and improves insulation.
✅ Improved Security – Small openings with robust locks deter intruders.
✅ Space-Saving Design – Ideal for narrow walls, high placements, or basements.
✅ Modern Appearance – Minimalist, sleek design suits contemporary architecture.
✅ Low Maintenance – Fewer moving parts, simple operation, and durable materials reduce upkeep.
✅ Enhanced Durability – Proper installation ensures long-term performance against weather and environmental factors.
Additional Advice: Regular inspection, especially after extreme weather, helps maintain performance. Cleaning frames, lubricating moving parts, and checking seals prolong the life and functionality of awning windows, ensuring comfort, security, and energy efficiency for years to come.
Tips for Long-Term Maintenance
Task | Frequency | Notes |
Clean frames and glass | Every 2–3 months | Mild detergent recommended |
Lubricate hinges and cranks | Every 6 months | Prevents squeaking and wear |
Inspect weatherstripping | Annually | Replace if worn for energy efficiency |
Reapply sealant if cracked | Every 2–3 years | Ensures waterproofing |
Inspect for leaks or drafts | Before rainy season | Prevents water damage |
Extra Tip: For coastal or high-humidity areas, check for corrosion on screws or hardware yearly.
When to Call a Professional Installer
While DIY installation is feasible for experienced homeowners, professional installation ensures precision, safety, and compliance with building codes. Consider hiring a professional if:
The window opening is damaged, irregular, or significantly out of square. Professionals can reinforce the rough opening, ensure level alignment, and prevent long-term operational issues.
You are installing multiple large awning windows or complex configurations. Coordinating multiple windows requires accurate leveling, consistent sealing, and careful alignment to maintain aesthetics and performance.
Walls are made of concrete, brick, or other masonry materials requiring special anchors, drilling equipment, and structural support. Improper fastening may compromise security or water resistance.
You want airtight performance that meets local building codes or energy efficiency standards. Professionals use specialized tools, quality sealants, and proper flashing techniques to guarantee compliance and longevity.
Professional Advantage: Certified installers bring expertise in precise measurement, alignment, and finishing. They ensure that windows operate smoothly, seals are tight, and frames are secure against environmental stressors like wind, rain, or temperature fluctuations. Hiring a professional can save time, reduce installation errors, and prevent costly repairs in the future.
Conclusion & Recommendation
Installing an awning window can significantly improve ventilation, comfort, and energy efficiency in your home. By following proper measurement, preparation, sealing, and maintenance steps, homeowners can achieve both functionality and aesthetic value.
If you are looking for high-quality awning windows with durable frames, energy-efficient glass, and reliable hardware, you may consider exploring the products offered by Beijing NorthTech Group Ltd. They provide customized solutions for residential and commercial window systems and can offer technical guidance or installation support if needed—without forcing you into a purchase.


